 |
 |
 |
 |
 |
 |
 |
 |
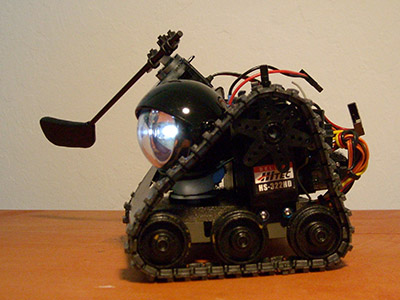
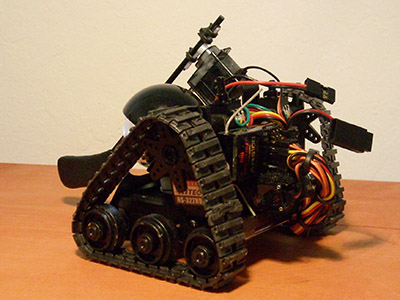
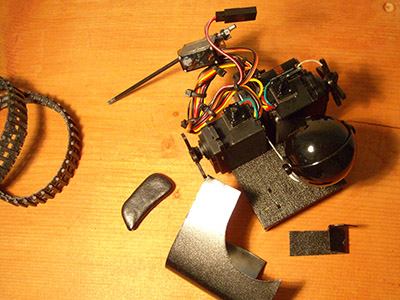
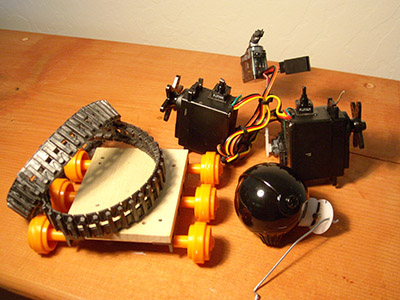
PutterBot uses 2 standard size servos for the tracks, each with the potentiometer popped out, and servo
taped to the top of the servo. This is an easy way to make the servos continuous, and you can adjust the trim
with the potentiometer or with the radio. The tank chassis is a kit from Tamiya, and directly driven from
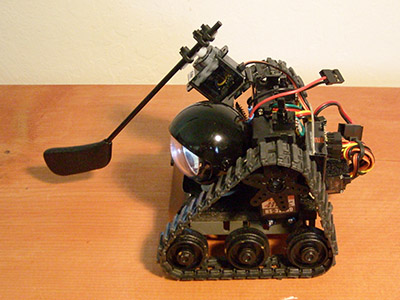
the servo horns. The tread mesh is not perfect, but it works ok. One micro servo is used for the putter,
and another one used for the head, and mounted in the back of the Putter Bot, driven through wire linkage.
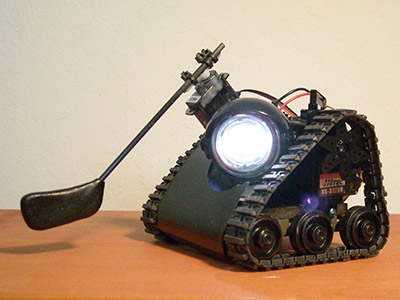
The reason using a linkage system, instead of directly mounting the head/light to the servo, is to lower
the head for a better center of gravity... and it just looks cuter with the head down low. Radio mixing
is used, so that the right stick controls the tank movements, and the left controls the putter and head
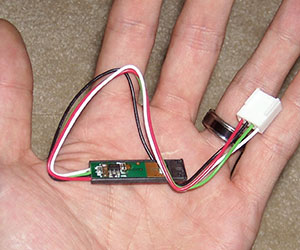
Laser attachement:
I received this little laser from Trossen Robotics. I did not know what to do with it, but they thought
I would figure something out. to use it for an standard r/c system, I clipped off the ends, attached a standard
servo plug. The green wire is not used, and the white wire needed to be in there, otherwise it would not power on.
I couldn't figure out how to turn it on and off via my transmitter, so it's now always on when the receiver battery
is attached.
taped to the top of the servo. This is an easy way to make the servos continuous, and you can adjust the trim
with the potentiometer or with the radio. The tank chassis is a kit from Tamiya, and directly driven from
the servo horns. The tread mesh is not perfect, but it works ok. One micro servo is used for the putter,
and another one used for the head, and mounted in the back of the Putter Bot, driven through wire linkage.
The reason using a linkage system, instead of directly mounting the head/light to the servo, is to lower
the head for a better center of gravity... and it just looks cuter with the head down low. Radio mixing
is used, so that the right stick controls the tank movements, and the left controls the putter and head
Laser attachement:
I received this little laser from Trossen Robotics. I did not know what to do with it, but they thought
I would figure something out. to use it for an standard r/c system, I clipped off the ends, attached a standard
servo plug. The green wire is not used, and the white wire needed to be in there, otherwise it would not power on.
I couldn't figure out how to turn it on and off via my transmitter, so it's now always on when the receiver battery
is attached.
 Tiny laser |
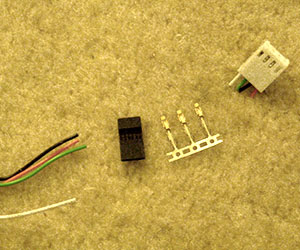 clipped off ends
|
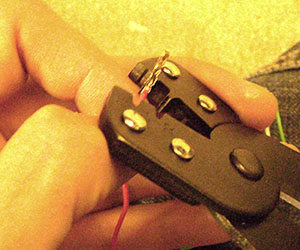 crimped on servo plug
|
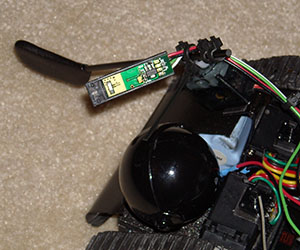 attached to putter bot
|
Back to Crabfu MotionWorks
Crabfu SteamWorks Crabfu Art & Animation
